In 2025, A4 thermal paper in Bangladesh has become a crucial item for businesses relying on thermal printers. Prices...
Latest posts
-
 A4 Thermal Paper Price in Bangladesh 2025Read more
 -
 Size of Thermal Printer Paper: A Complete GuideRead more
Discover everything you need to know about thermal printer paper sizes in this comprehensive guide. From standard...
-
 How to Insert POS Paper in Your PrinterRead more
Learn how to insert POS paper into your printer quickly and correctly to avoid jams, misprints, or downtime in your...
-
 Top 5 Mini Printer Prices in Bangladesh 2025Read more
Looking for the best mini printers in Bangladesh for 2025? Our comprehensive guide covers the top 5 mini printers,...
-
 How to Choose the Right Size of POS Thermal Paper RollsRead more
Selecting the right size of POS thermal paper rolls is a simple yet vital decision for your business operations....
-
 Top POS Thermal Paper Brands Trusted by Retailers in 2025Read more
Selecting a trusted POS thermal paper brand is more than just buying paper rolls — it’s about ensuring smooth...
-
 Top Mistakes to Avoid When Buying a POS Receipt PrinterRead more
Choosing the right POS receipt printer is crucial for smooth business operations and a positive customer experience....
-
 How to Choose the Best POS Printer for Your Retail StoreRead more
Choosing the right POS printer is crucial for smooth retail operations and a better customer checkout experience....
-
 Top 5 POS Printers for Small Businesses in 2025Read more
Investing in the right POS printer can streamline your checkout process and enhance customer satisfaction. The Epson...
-
 Best ID Card Printer for Office in 2025Read more
Choosing the right ID card printer boosts your office security and professionalism. The printers listed here are...
Blog categories
Search in blog

Magicard Enduro ID Card Printer - How to Load Ribbons
The Magicard Enduro ID Card Printer is a popular choice for businesses and institutions requiring secure and durable ID card printing. One of the most crucial aspects of using this printer is loading the ribbon correctly. This task, while straightforward, can affect the overall print quality, longevity of the printer, and the efficiency of your operations. Understanding how to load ribbons into the Magicard Enduro ID Card Printer is essential to maintaining consistent performance and achieving the best results.
Key Factors That Impact Loading Ribbons in the Magicard Enduro ID Card Printer
Several factors come into play when loading ribbons into the Magicard Enduro ID Card Printer. From the type of ribbon used to the handling of the materials, each detail contributes to the printer’s overall output quality.
1. Choosing the Right Ribbon
The Magicard Enduro ID Card Printer is compatible with a range of ribbons designed for different card printing purposes. These ribbons are typically color-coded to indicate their specific function:
-
YMCKO (Yellow, Magenta, Cyan, Black, Overlay): This is the most common ribbon used for full-color printing, which includes both the front and back of the card.
-
K (Black): Used for monochrome printing.
-
KO (Black + Overlay): Ideal for printing black text or barcodes with an additional protective overlay layer.
-
Rewritable ribbons: Used for creating cards that can be erased and reprinted.
The correct ribbon selection depends on the type of print job you are working on. Choosing the wrong ribbon can lead to poor print quality or damage to the printer over time.
2. Proper Installation of the Ribbon
Loading the ribbon into the printer correctly is crucial to prevent any operational issues. The Magicard Enduro ID Card Printer follows a simple process:
-
Step 1: Open the Printer – Start by turning off the printer and lifting the cover to access the ribbon compartment.
-
Step 2: Remove the Old Ribbon – If there is an old ribbon inside, carefully remove it by disengaging the ribbon spools.
-
Step 3: Insert the New Ribbon – Place the new ribbon roll onto the correct spindle, ensuring that the ribbon is aligned correctly and is taut.
-
Step 4: Thread the Ribbon – Carefully thread the ribbon through the printer’s ribbon path, ensuring it moves smoothly without tangling.
-
Step 5: Close the Printer – Once the ribbon is loaded, securely close the printer, ensuring all components are properly aligned.
Improper installation of the ribbon can lead to jams, poor printing quality, or potential damage to both the ribbon and the printer head.
3. Maintaining the Printer and Ribbon
Regular maintenance is essential to ensure smooth printing operations. Always ensure that you are using the correct ribbons, as counterfeit or non-compatible ribbons may cause issues with the printer’s performance.
Here are a few tips to maintain the ribbon and printer:
-
Avoid Overfilling: Make sure the ribbon is not overfilled, as this can cause excess strain on the printer.
-
Clean Regularly: Use the cleaning cards that come with the printer to clean the print head, as this will ensure high-quality prints and reduce the risk of ribbon residue building up.
-
Store Ribbons Properly: When not in use, store ribbons in a cool, dry environment to prevent the material from warping or degrading.
4. Understanding Ribbon Usage and Cost Efficiency
Each type of ribbon comes with different costs and yield rates. For instance, the YMCKO ribbon offers full-color prints but tends to be more expensive than black-only ribbons. Therefore, choosing the right ribbon based on the quantity of cards you need to print can lead to more efficient use of your materials and minimize costs.
If you're printing a lot of basic information or using cards for identification purposes only, you may choose monochrome black ribbons. On the other hand, if you need vibrant, multi-color images on your cards, YMCKO ribbons would be the best choice.
Challenges Associated with Loading Ribbons
While loading ribbons is not typically a complicated task, there are challenges that users may face:
-
Jams and Misalignment: Sometimes, the ribbon can jam or misalign if it is not installed properly or if the printer is not well-maintained. This can result in the printer not working correctly, requiring users to troubleshoot and realign the components.
-
Ribbon Wear and Tear: Over time, ribbons can wear out, especially if they are exposed to heat, humidity, or if the printer head is not regularly cleaned. This can result in uneven printing or poor-quality prints.
-
Choosing the Correct Ribbon: With various ribbon types available, choosing the right one for your printing needs can be overwhelming, especially for new users. It’s important to check the specifications of the printer and consult the manufacturer’s guidelines before making a purchase.
Conclusion
Loading ribbons into the Magicard Enduro ID Card Printer may seem like a simple process, but it plays a crucial role in the overall performance and output of the printer. Understanding the right ribbons to use, how to install them correctly, and how to maintain both the ribbons and the printer will ensure high-quality prints and longevity for your equipment. Whether you’re printing full-color employee ID cards, membership cards, or other personalized items, taking the time to load and care for the ribbons properly will help you avoid common pitfalls and maximize the efficiency of your Magicard Enduro ID Card Printer.
Posted in:
Default category
Related posts
-
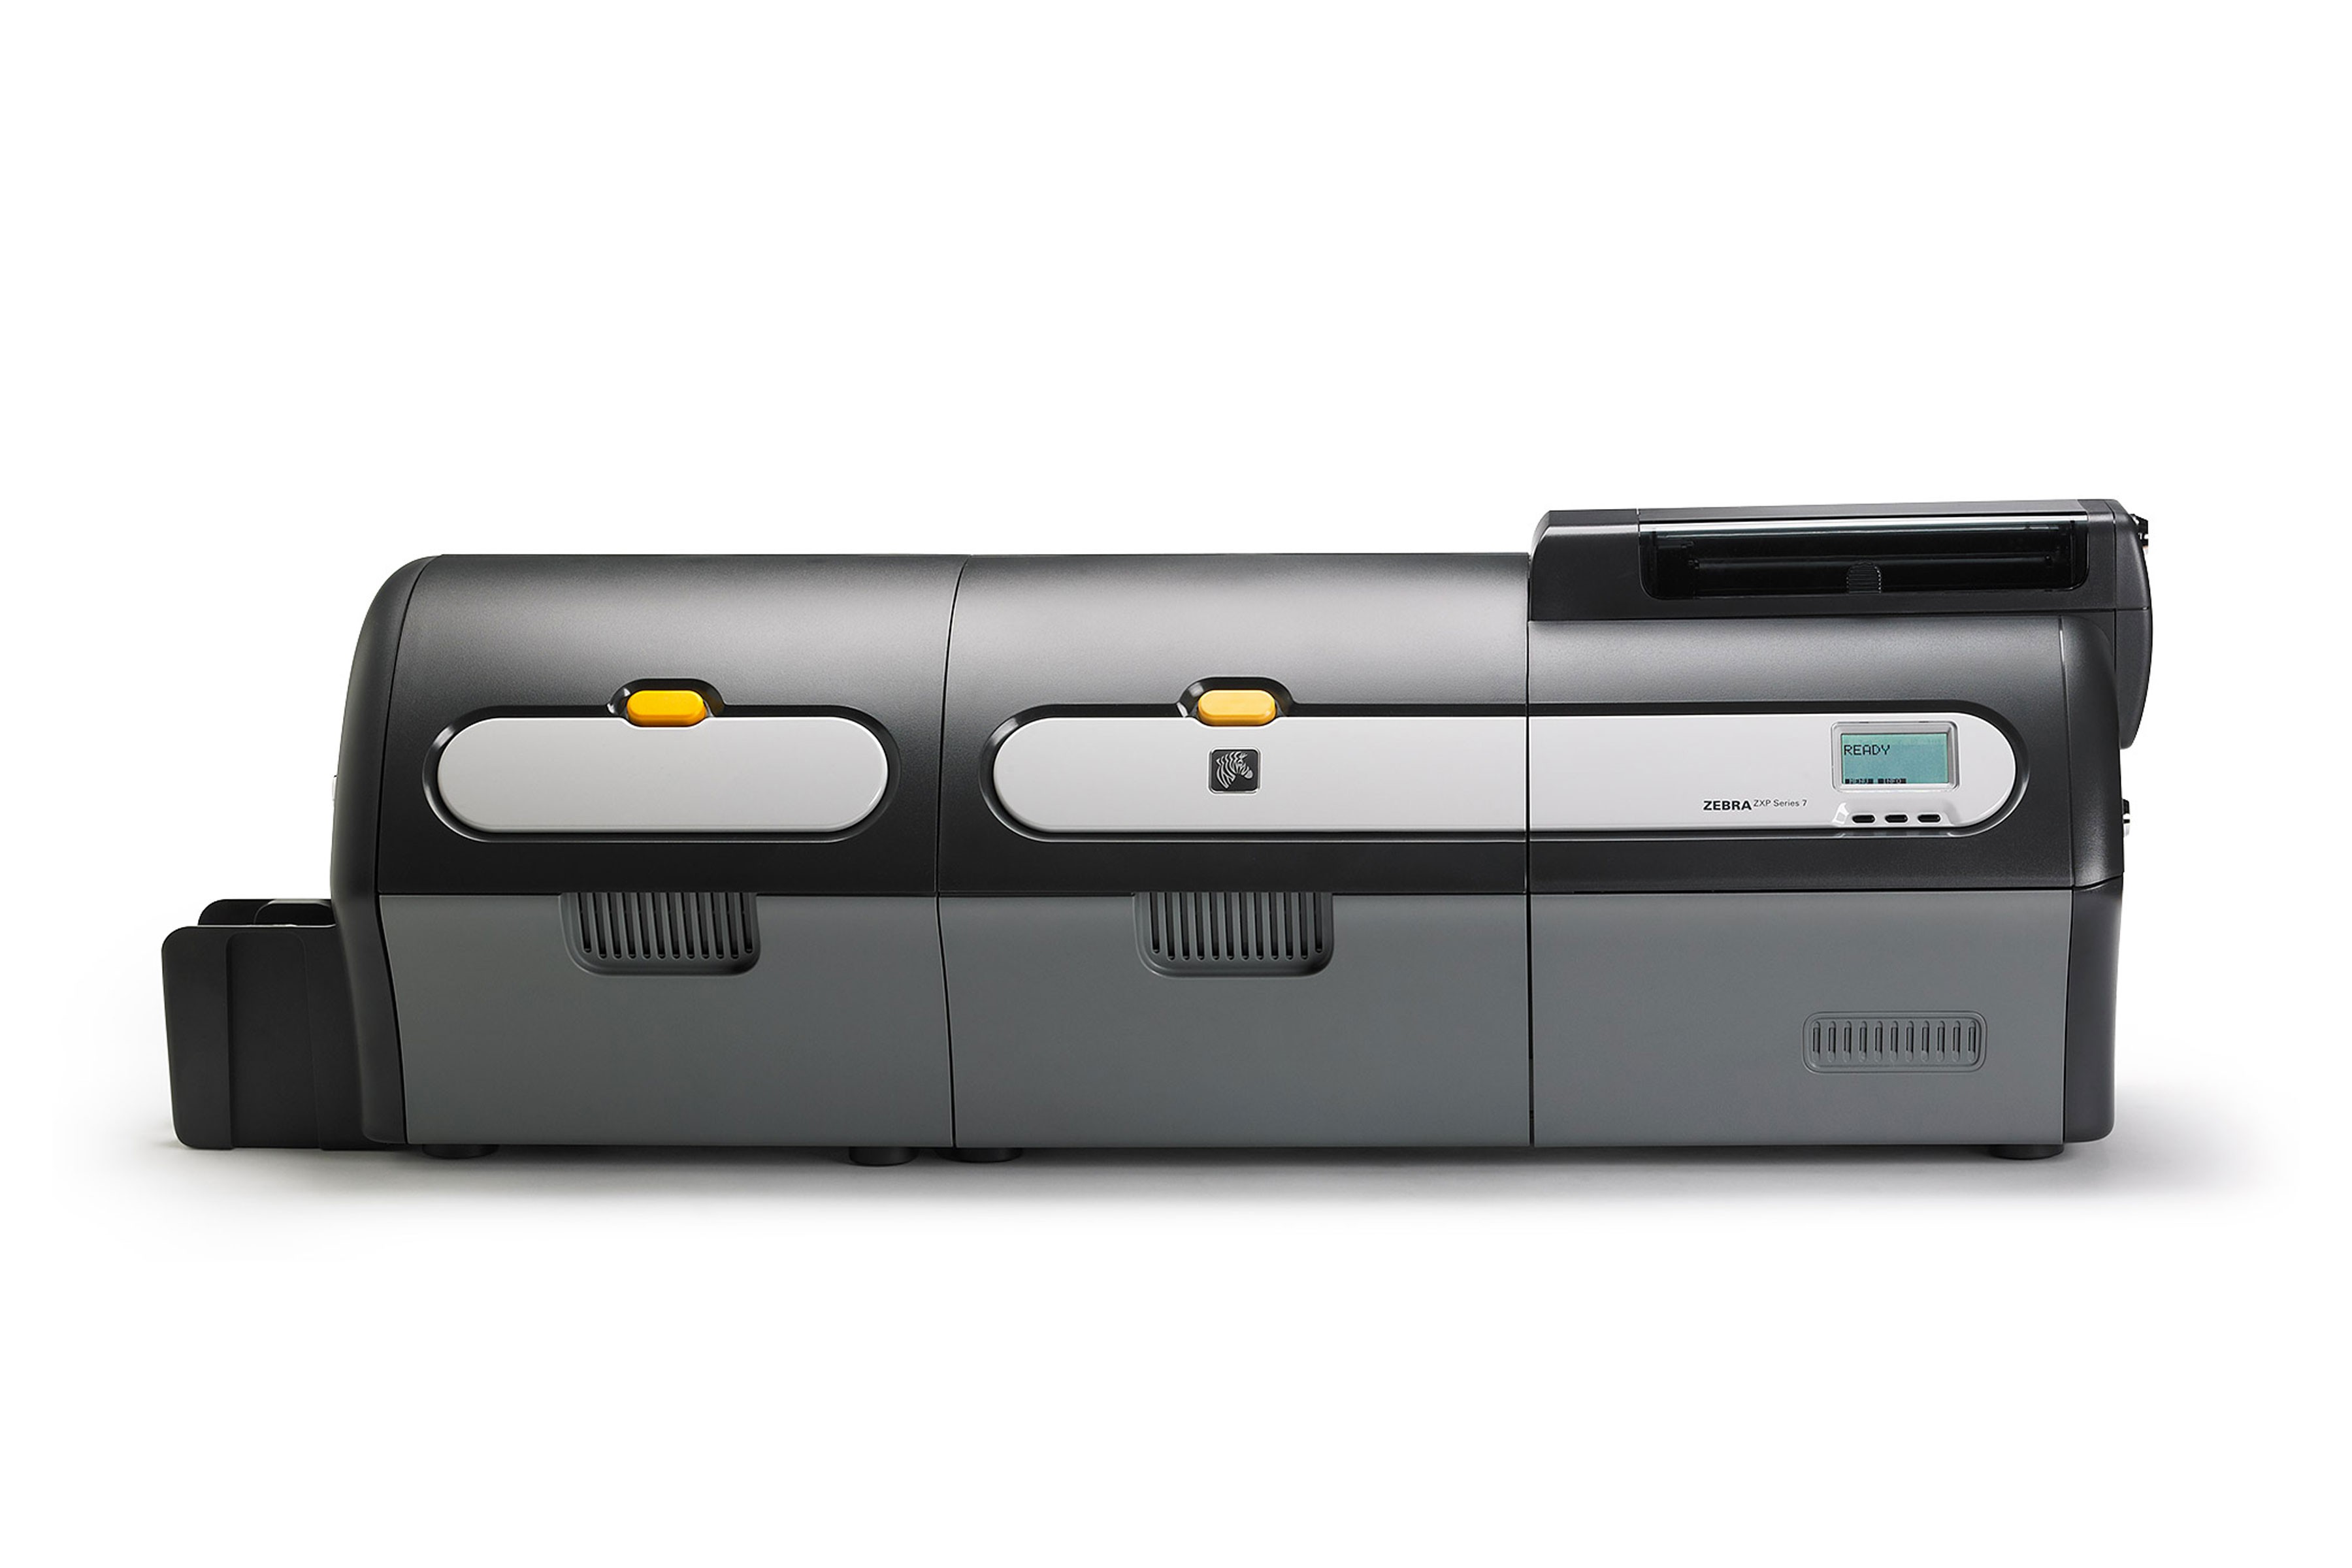 Want to Buy Zebra ZXP Series 7 Ribbon? Here's What You Need to Know
The Zebra ZXP Series 7 ribbon is an essential component for anyone using the Zebra ZXP Series 7 card printer. Whether...Read more
Want to Buy Zebra ZXP Series 7 Ribbon? Here's What You Need to Know
The Zebra ZXP Series 7 ribbon is an essential component for anyone using the Zebra ZXP Series 7 card printer. Whether...Read more -
 Best ID Card Printer - Best Advice on All Leading Brands
5 Best ID Card Printers in 2024 When you dive into the world of ID card printers, you'll find a plethora of options...Read more
Best ID Card Printer - Best Advice on All Leading Brands
5 Best ID Card Printers in 2024 When you dive into the world of ID card printers, you'll find a plethora of options...Read more -
 Best Selling ID Card Ribbon & Accessories
When it comes to ID card ribbon and supplies, it's essential to choose reliable products that ensure crisp, clear...Read more
Best Selling ID Card Ribbon & Accessories
When it comes to ID card ribbon and supplies, it's essential to choose reliable products that ensure crisp, clear...Read more -
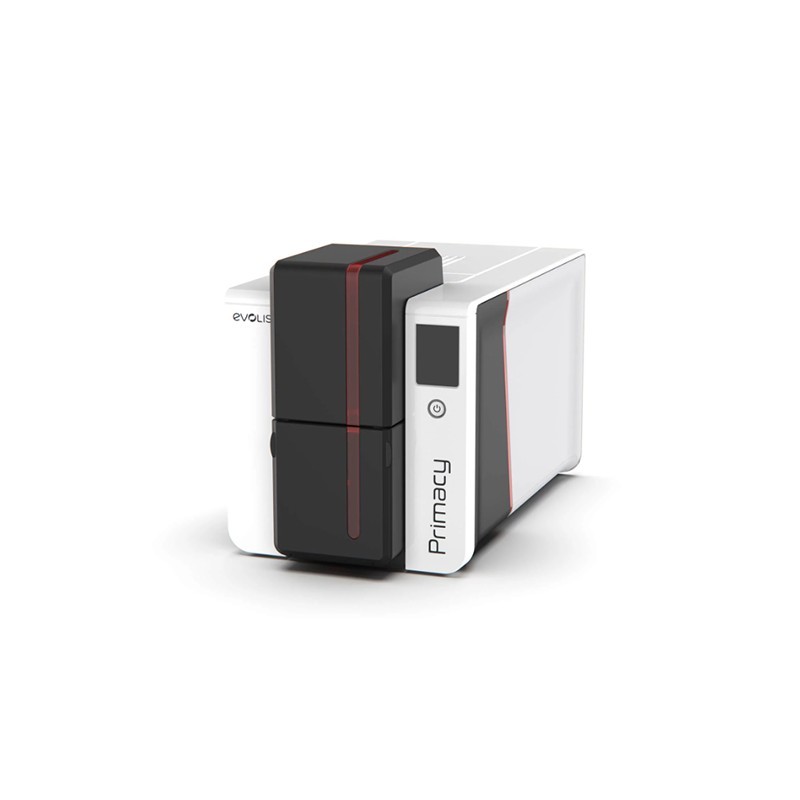
 Employee ID Card Printer at Best Price In Bangladesh
Top Employee ID Card Printers in Bangladesh for 2024 1. Evolis Primacy 2 The Evolis Primacy 2 is highly regarded...Read more
Employee ID Card Printer at Best Price In Bangladesh
Top Employee ID Card Printers in Bangladesh for 2024 1. Evolis Primacy 2 The Evolis Primacy 2 is highly regarded...Read more -
 Best Retransfer ID Card Printer : Top Printers Chosen By Experts
Retransfer ID Card Printer Fargo HDP6600XE ID Card Printer Evolis Primacy 2 Expert Printer Zebra ZXP Series 9...Read more
Best Retransfer ID Card Printer : Top Printers Chosen By Experts
Retransfer ID Card Printer Fargo HDP6600XE ID Card Printer Evolis Primacy 2 Expert Printer Zebra ZXP Series 9...Read more
Leave a comment