In 2025, A4 thermal paper in Bangladesh has become a crucial item for businesses relying on thermal printers. Prices...
Latest posts
-
 A4 Thermal Paper Price in Bangladesh 2025Read more
 -
 Size of Thermal Printer Paper: A Complete GuideRead more
Discover everything you need to know about thermal printer paper sizes in this comprehensive guide. From standard...
-
 How to Insert POS Paper in Your PrinterRead more
Learn how to insert POS paper into your printer quickly and correctly to avoid jams, misprints, or downtime in your...
-
 Top 5 Mini Printer Prices in Bangladesh 2025Read more
Looking for the best mini printers in Bangladesh for 2025? Our comprehensive guide covers the top 5 mini printers,...
-
 How to Choose the Right Size of POS Thermal Paper RollsRead more
Selecting the right size of POS thermal paper rolls is a simple yet vital decision for your business operations....
-
 Top POS Thermal Paper Brands Trusted by Retailers in 2025Read more
Selecting a trusted POS thermal paper brand is more than just buying paper rolls — it’s about ensuring smooth...
-
 Top Mistakes to Avoid When Buying a POS Receipt PrinterRead more
Choosing the right POS receipt printer is crucial for smooth business operations and a positive customer experience....
-
 How to Choose the Best POS Printer for Your Retail StoreRead more
Choosing the right POS printer is crucial for smooth retail operations and a better customer checkout experience....
-
 Top 5 POS Printers for Small Businesses in 2025Read more
Investing in the right POS printer can streamline your checkout process and enhance customer satisfaction. The Epson...
-
 Best ID Card Printer for Office in 2025Read more
Choosing the right ID card printer boosts your office security and professionalism. The printers listed here are...
Blog categories
Search in blog

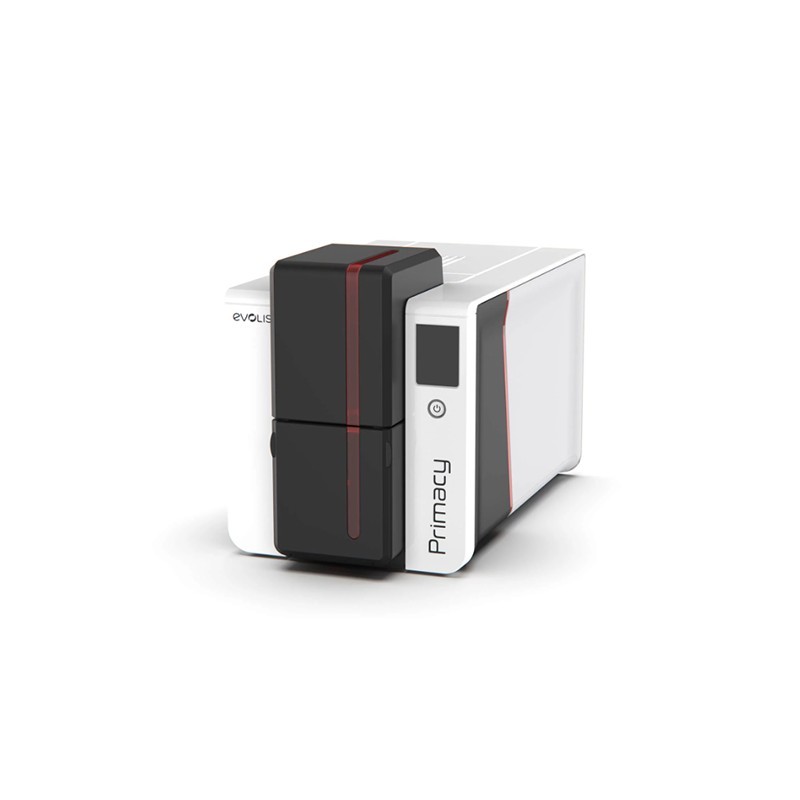
How To Install Evolis Primacy-2 Printer
The Evolis Primacy-2 Printer is a popular, reliable, and efficient card printing solution used in various industries such as education, identification, and access control. Installing the Evolis Primacy-2 Printer correctly ensures optimal performance and helps you avoid issues during operation. This guide provides a comprehensive analysis of how to install the Evolis Primacy-2 Printer, including key factors that impact installation, potential challenges, and different approaches to setting it up.
Key Factors That Impact the Installation of the Evolis Primacy-2 Printer
Before diving into the installation process, there are several key factors to consider that can influence the setup of your Evolis Primacy-2 printer. These factors include system compatibility, software requirements, connectivity options, and preparation steps.
1. System Compatibility
The Evolis Primacy-2 Printer is compatible with both Windows and Mac operating systems, but it is essential to check whether your operating system version is supported. Generally, the printer supports Windows 10, Windows 8, and macOS versions such as 10.12 and above. Ensure that your computer meets the system requirements for the printer driver and software to function correctly.
2. Software Requirements
Installing the right software is crucial to ensure your printer functions as expected. The Evolis Primacy-2 Printer requires specific drivers and software to operate. These can usually be downloaded from the official Evolis website. The printer typically comes with software such as Evolis Premium Suite, which helps configure the printer settings, monitor printing statuses, and troubleshoot potential issues. Always ensure you're using the latest software version to avoid compatibility issues.
3. Connectivity Options
The Evolis Primacy-2 offers several connectivity options, including USB, Ethernet, and Wi-Fi. The choice of connectivity can impact the installation process. For instance, USB connectivity is usually the simplest and quickest option for individual use, while Ethernet or Wi-Fi is more suitable for networked environments where multiple users need access to the printer.
4. Preparation Steps
Before installing the printer, make sure you have the following:
-
A stable power supply and the necessary power cables.
-
The Evolis Primacy-2 Printer, complete with any accessories (such as ribbons, cards, and cleaning kits).
-
The printer's driver and software installation CD, or access to the download link from Evolis' official website.
-
Your system (computer or network) set up and ready to connect to the printer.
Step-by-Step Guide to Installing the Evolis Primacy-2 Printer
With the prerequisites in place, you can proceed to install the Evolis Primacy-2 Printer by following these simple steps:
Step 1: Unbox and Set Up the Printer
Start by carefully unpacking the Evolis Primacy-2 printer from its box. Ensure all components are present:
-
Printer unit
-
Power cable
-
USB or Ethernet cable (depending on your connection choice)
-
Starter pack of cards
-
Ribbon
-
Cleaning kit
Place the printer on a stable surface and ensure it's within range of your computer or network.
Step 2: Install the Printer Ribbon and Cards
Before turning on the printer, you must load the printer with the appropriate printer ribbon and cards. Follow the instructions provided in the user manual to:
-
Open the printer's top cover
-
Insert the ribbon and card holders into their designated places
-
Close the printer securely
Step 3: Connect the Printer
For USB Connection:
-
Plug one end of the USB cable into the printer’s USB port and the other end into your computer’s USB port.
-
The system should automatically detect the printer. If not, you may need to install the drivers manually.
For Ethernet or Wi-Fi Connection:
-
For Ethernet, connect the printer to your network via the Ethernet cable.
-
For Wi-Fi, follow the printer's display panel instructions to select the correct Wi-Fi network and enter the password.
Step 4: Install the Printer Driver
Once the printer is connected, you need to install the necessary drivers:
-
Windows Users: Download the driver from the Evolis website or use the installation CD that comes with the printer. Run the installer and follow the on-screen instructions.
-
Mac Users: Similar to Windows, download the appropriate driver from the Evolis website. After downloading, open the .dmg file and follow the installation steps.
Once installed, restart your computer to ensure the driver is correctly loaded.
Step 5: Configure the Printer Settings
After the driver is installed, use the Evolis Premium Suite software to configure your printer settings. This software allows you to:
-
Monitor the printer's status
-
Adjust the card feed settings
-
Manage print queue
-
Run diagnostics
Step 6: Test the Printer
Before starting with your first print job, it's essential to test the printer:
-
Open the Evolis Premium Suite or your preferred card printing software.
-
Select "Test Print" or "Print Sample" to check if the printer is functioning correctly.
-
Make sure the cards are fed correctly, the ribbon is working, and there are no jams or errors.
Step 7: Start Printing
Once the test print has been successfully completed, you're ready to start your actual print jobs. Load the design template for the cards you wish to print, and begin your printing tasks.
Challenges Associated with Installing the Evolis Primacy-2 Printer
While the installation process is straightforward, several challenges may arise during the setup. Here are a few common issues:
1. Driver Installation Issues
Sometimes, the printer drivers may fail to install properly, especially if you are using outdated drivers or incompatible operating system versions. To avoid this, ensure that you're downloading the latest drivers from the official Evolis website and that your operating system supports them.
2. Connectivity Issues
For networked setups, ensuring a stable Wi-Fi or Ethernet connection is vital. Connection issues could arise due to incorrect network configurations, such as an incorrect IP address or firewall settings blocking the printer.
3. Paper Jams or Ribbon Issues
Improper installation of the ribbon or cards can lead to paper jams. Always follow the installation guide to ensure the cards and ribbon are loaded properly. Additionally, make sure to perform regular cleaning and maintenance to avoid any build-up that could cause issues.
4. Software Incompatibility
Sometimes, the Evolis Primacy-2 Printer might not work well with certain third-party software, particularly if they are not updated to the latest version. It’s always best to use software recommended by Evolis for optimal compatibility.
Conclusion
Installing the Evolis Primacy-2 Printer is a relatively simple process when all the steps are followed correctly. By considering system compatibility, preparing your computer and the printer, choosing the appropriate connectivity, and following the correct installation steps, you can quickly get your printer up and running. While occasional challenges may arise, with the right troubleshooting techniques, you can ensure smooth operation and make the most out of your card printing tasks.
By staying informed and proactive, you can efficiently set up your Evolis Primacy-2 Printer and enjoy high-quality printing results for all your ID card and membership card needs.
When printing documents, ensuring the correct paper size is selected is essential for achieving the desired layout and print quality. One of the most commonly used paper sizes is A4, which measures 210mm x 297mm. Setting or changing the A4 paper size in printer settings is a simple yet important step that can affect the appearance and accuracy of your printouts. In this article, we will discuss how to set or change the A4 paper size in your printer settings, factors to consider, and potential challenges you may encounter.
Posted in:
Default category
Related posts
-
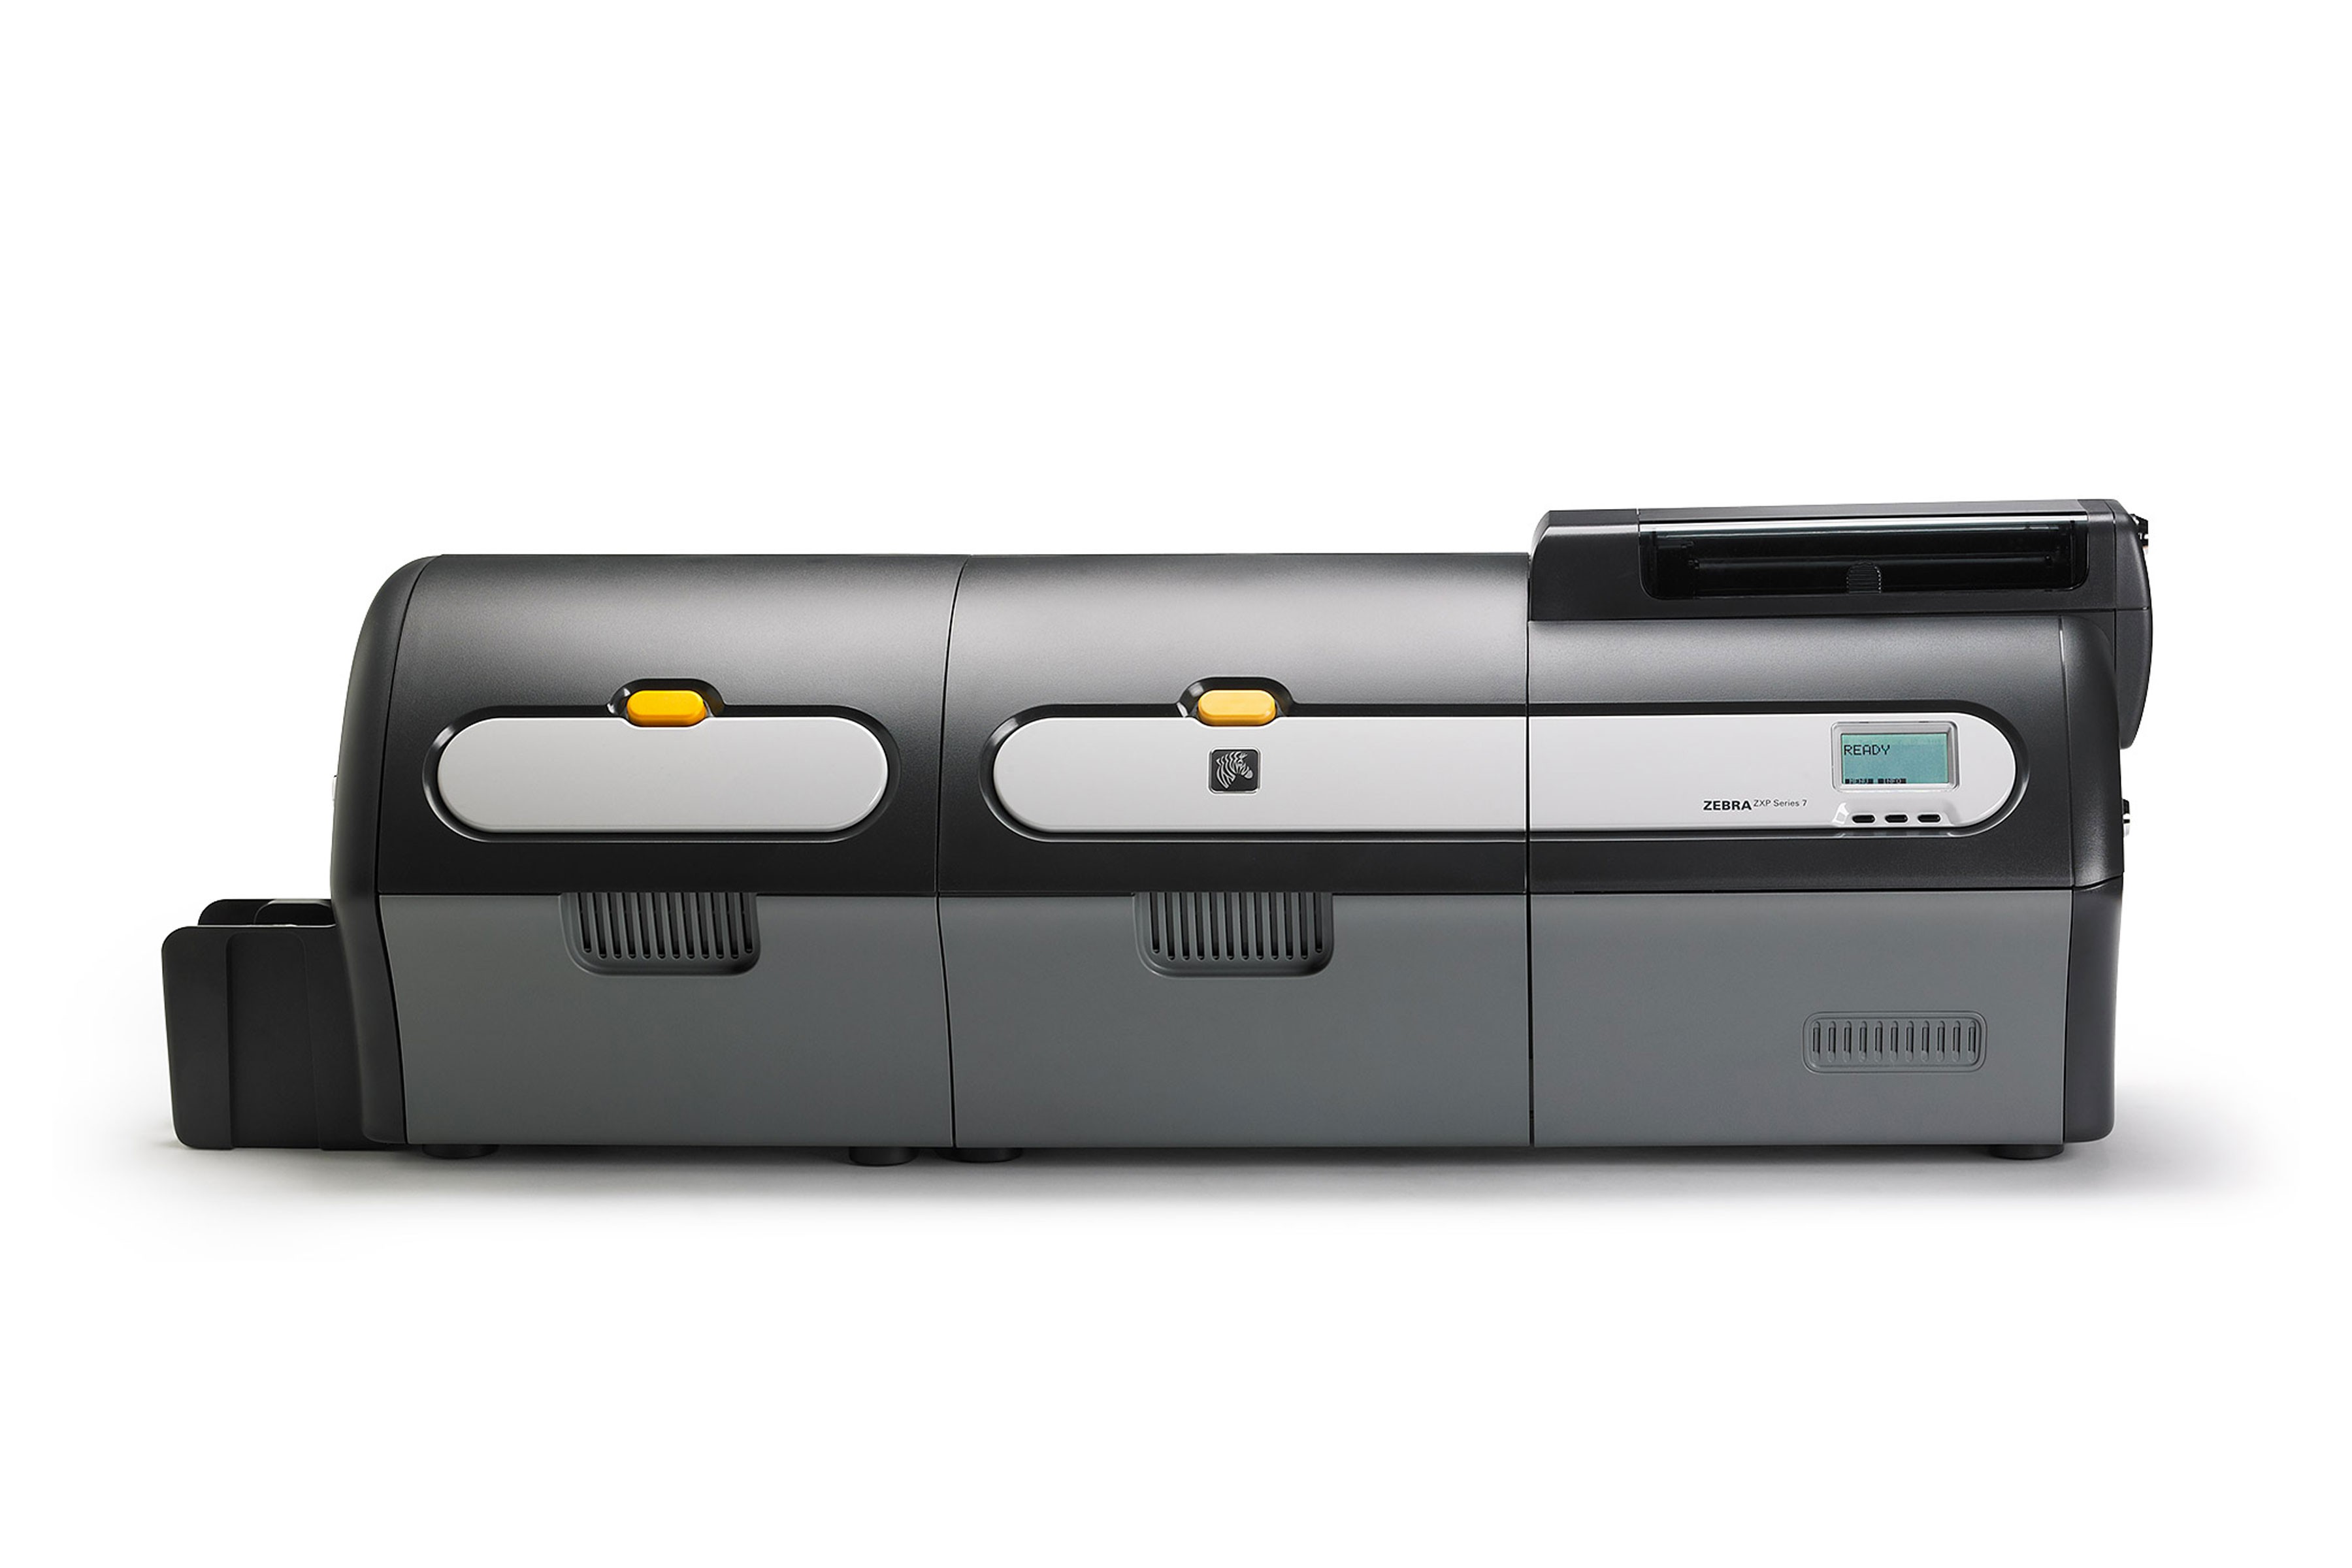 Want to Buy Zebra ZXP Series 7 Ribbon? Here's What You Need to Know
The Zebra ZXP Series 7 ribbon is an essential component for anyone using the Zebra ZXP Series 7 card printer. Whether...Read more
Want to Buy Zebra ZXP Series 7 Ribbon? Here's What You Need to Know
The Zebra ZXP Series 7 ribbon is an essential component for anyone using the Zebra ZXP Series 7 card printer. Whether...Read more -
 Best ID Card Printer - Best Advice on All Leading Brands
5 Best ID Card Printers in 2024 When you dive into the world of ID card printers, you'll find a plethora of options...Read more
Best ID Card Printer - Best Advice on All Leading Brands
5 Best ID Card Printers in 2024 When you dive into the world of ID card printers, you'll find a plethora of options...Read more -
 Best Selling ID Card Ribbon & Accessories
When it comes to ID card ribbon and supplies, it's essential to choose reliable products that ensure crisp, clear...Read more
Best Selling ID Card Ribbon & Accessories
When it comes to ID card ribbon and supplies, it's essential to choose reliable products that ensure crisp, clear...Read more -
 Employee ID Card Printer at Best Price In Bangladesh
Top Employee ID Card Printers in Bangladesh for 2024 1. Evolis Primacy 2 The Evolis Primacy 2 is highly regarded...Read more
Employee ID Card Printer at Best Price In Bangladesh
Top Employee ID Card Printers in Bangladesh for 2024 1. Evolis Primacy 2 The Evolis Primacy 2 is highly regarded...Read more -
 Best Retransfer ID Card Printer : Top Printers Chosen By Experts
Retransfer ID Card Printer Fargo HDP6600XE ID Card Printer Evolis Primacy 2 Expert Printer Zebra ZXP Series 9...Read more
Best Retransfer ID Card Printer : Top Printers Chosen By Experts
Retransfer ID Card Printer Fargo HDP6600XE ID Card Printer Evolis Primacy 2 Expert Printer Zebra ZXP Series 9...Read more
Leave a comment