In 2025, A4 thermal paper in Bangladesh has become a crucial item for businesses relying on thermal printers. Prices...
How to Insert POS Paper in Your Printer
Here’s a full blog draft for your topic, including a 70-word short description:
A point-of-sale (POS) system is essential for smooth business operations, whether in retail, hospitality, or any other sector. One of the simplest yet most crucial aspects of maintaining your POS printer is properly loading the paper. Incorrect paper placement can cause jams, poor print quality, or even damage your printer. This guide will walk you through the process of inserting POS paper in your printer correctly and efficiently.
Step 1: Identify Your POS Printer Type
POS printers come in various types, including thermal printers and impact (dot matrix) printers. The most common type in modern businesses is the thermal printer, which uses heat-sensitive paper. Impact printers use an ink ribbon and regular paper, but the paper-loading process is similar.
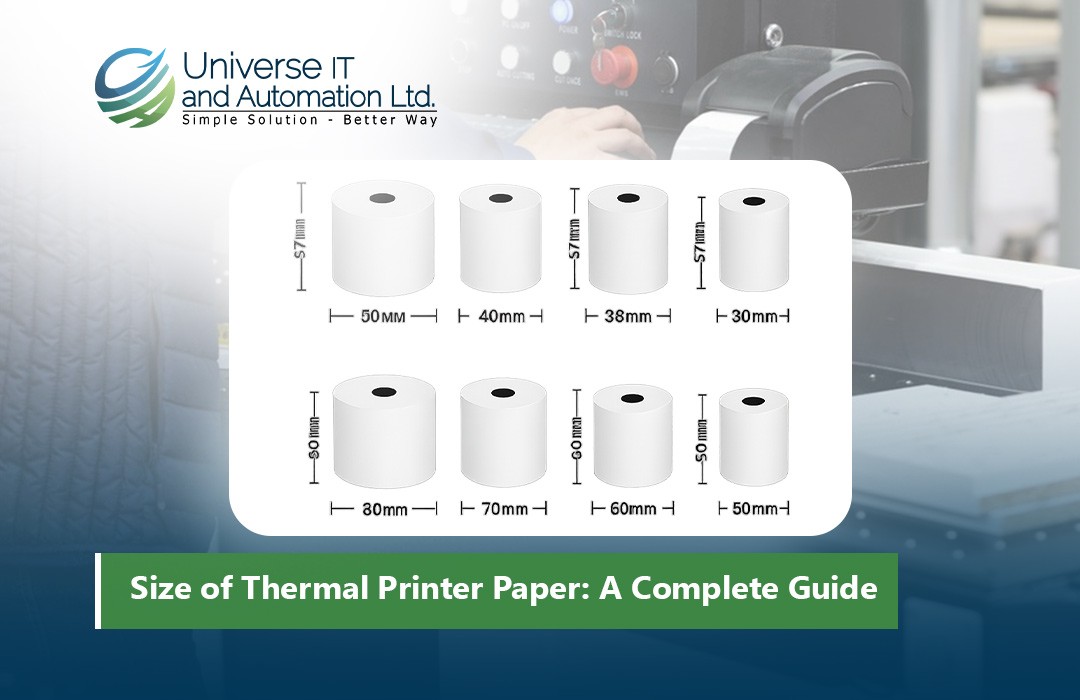
Before loading paper, check your printer’s manual to confirm which type it is and the recommended paper size. Most standard POS printers use 80mm or 58mm paper rolls, but the size may vary based on your device.
Step 2: Turn Off the Printer
Before you insert paper, always turn off your printer. This prevents accidental prints, electrical issues, or paper feed errors. If your printer has a release button for the paper compartment, press it to open the printer cover safely.
Step 3: Open the Printer Cover
Locate the printer cover or paper compartment. For thermal printers, this is usually on the top. Press the release button or gently lift the cover to expose the paper roll compartment. Some models might have a hinged cover that you lift upward, while others may slide open.
Ensure there is no leftover paper or debris inside the compartment, as this can interfere with proper feeding. Remove any remnants of the old paper roll if necessary.
Step 4: Choose the Correct Paper Roll
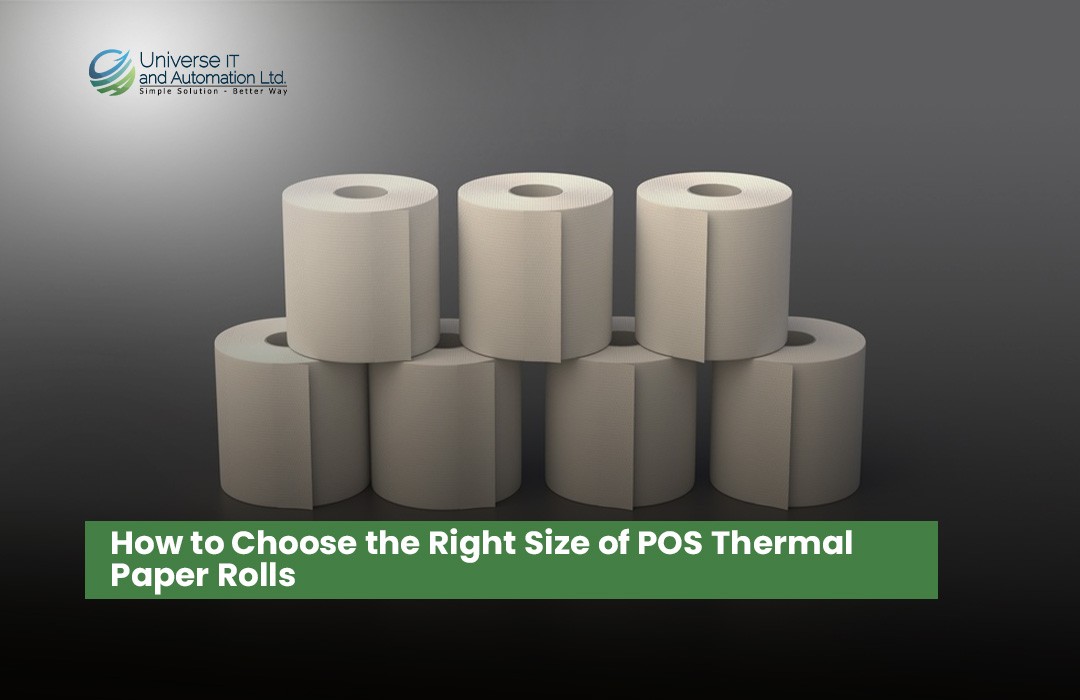
Make sure you are using the correct size and type of paper recommended for your printer. Thermal paper is sensitive to heat and requires proper placement of the roll for accurate printing. Check the packaging for width, diameter, and core specifications.
When using a thermal paper roll, ensure the coated (thermal) side is facing the thermal print head. The thermal side is usually shinier compared to the matte side. Incorrect placement may result in blank receipts or faded prints.
Step 5: Position the Paper Roll
Place the paper roll in the compartment. Most thermal POS printers require the roll to unwind from the bottom or front. The end of the paper should extend towards the printer’s exit slot. Some printers indicate an arrow showing the correct feed direction.
For impact printers, ensure the paper is aligned with the ribbon if your model uses one. Double-check that the roll is seated correctly, with no twisting or bending.
Step 6: Pull Paper Through the Printer
Once the roll is positioned, gently pull the leading edge of the paper towards the printer’s exit slot. Make sure it extends far enough to protrude from the printer but not too much to cause a jam. Avoid folding or creasing the paper.
Thermal printers usually have a small feed path, so ensure the paper is straight and aligned. Misalignment can cause skewed or incomplete printing.
Step 7: Close the Printer Cover
Carefully close the printer cover, making sure it clicks or locks into place. Improperly closed covers can trigger error messages or prevent printing altogether. Some printers have a transparent cover so you can see the roll inside, which helps ensure proper placement without reopening the cover.
Step 8: Test the Paper Feed
Turn the printer back on and use the feed button to advance the paper. This step ensures the paper is correctly installed and feeds smoothly without jamming. If the paper doesn’t move, reopen the cover and check for obstructions or misalignment.
For POS systems connected to a computer or tablet, you can also print a test receipt to verify correct placement and print quality. Ensure the text is sharp, and there are no blank lines.
Step 9: Avoid Common Mistakes
Many POS printer issues arise from simple mistakes during paper insertion. Here are some tips to avoid them:
-
Do not overload the compartment: Using a roll that’s too large may cause the cover to not close properly.
-
Avoid moisture or dirt: Keep the paper clean and dry; dirt or moisture can damage the printer head.
-
Check for paper jams: Regularly inspect the paper path for remnants of old paper.
-
Use the correct paper type: Thermal printers will not work correctly with regular paper.
Step 10: Maintain Your Printer
Proper maintenance extends the life of your POS printer. Clean the printer head regularly using a soft cloth or manufacturer-approved wipes. Replace paper rolls promptly to avoid running out during peak hours. Proper insertion and maintenance ensure smooth, uninterrupted operation.
Quick Tips for Efficient Paper Replacement
-
Keep extra rolls nearby for quick replacement during busy hours.
-
Label your rolls with purchase dates to use older stock first.
-
Store paper rolls in a dry, cool place to prevent curling or sticking.
-
Follow manufacturer guidelines for paper width and core size.
Conclusion
Inserting POS paper may seem like a minor task, but it’s essential for smooth business operations. By following these steps, you can avoid common issues like paper jams, misprints, or damage to your printer. Always ensure the paper type and size match your printer’s specifications, and maintain the printer regularly to keep your POS system running efficiently. Proper handling of your POS printer ultimately saves time, reduces frustration, and ensures a professional customer experience.
With practice, loading paper will become a quick, routine task that keeps your sales flowing without interruption. Remember, a well-maintained POS printer is a reliable partner for your business success.



Leave a comment