In 2025, A4 thermal paper in Bangladesh has become a crucial item for businesses relying on thermal printers. Prices...
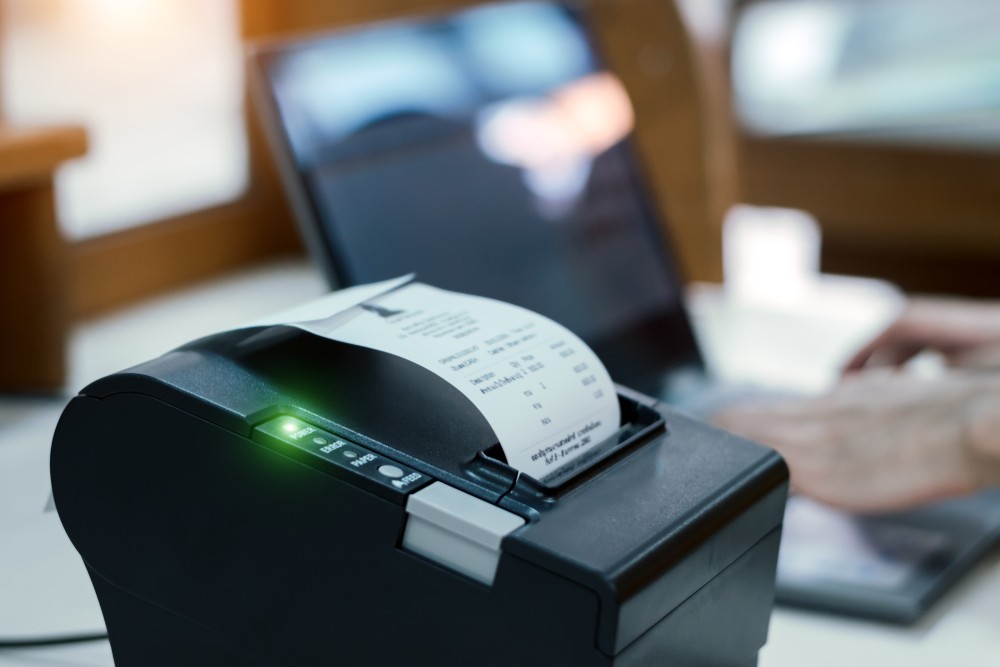
How To Set Paper Size In Any Thermal Printer?
Thermal printers are widely used for tasks such as receipt printing, label printing, and barcode generation. These printers rely on heat to transfer ink onto paper or special thermal paper, making them fast, efficient, and relatively low-maintenance. One of the essential factors in ensuring a thermal printer performs at its best is configuring the correct paper size. Setting the proper paper size helps avoid paper jams, misprints, or misaligned outputs.
In this article, we will walk you through the different methods of setting paper size on thermal printers, explore the factors that influence this process, and highlight common challenges and solutions.
Key Factors Impacting Paper Size Settings in Thermal Printers
Thermal printers come in various models, from desktop printers to industrial-scale machines, and the process of setting the paper size can vary depending on the printer's make and model. However, several general factors impact paper size settings:
-
Printer Model and Manufacturer Different manufacturers (such as Epson, Zebra, Brother, and Bixolon) may offer different software, interfaces, or hardware configurations for setting paper size. For example, Zebra printers often use the "ZebraDesigner" software for configuring printer settings, while Epson printers use their Epson Software Development Kit (SDK).
-
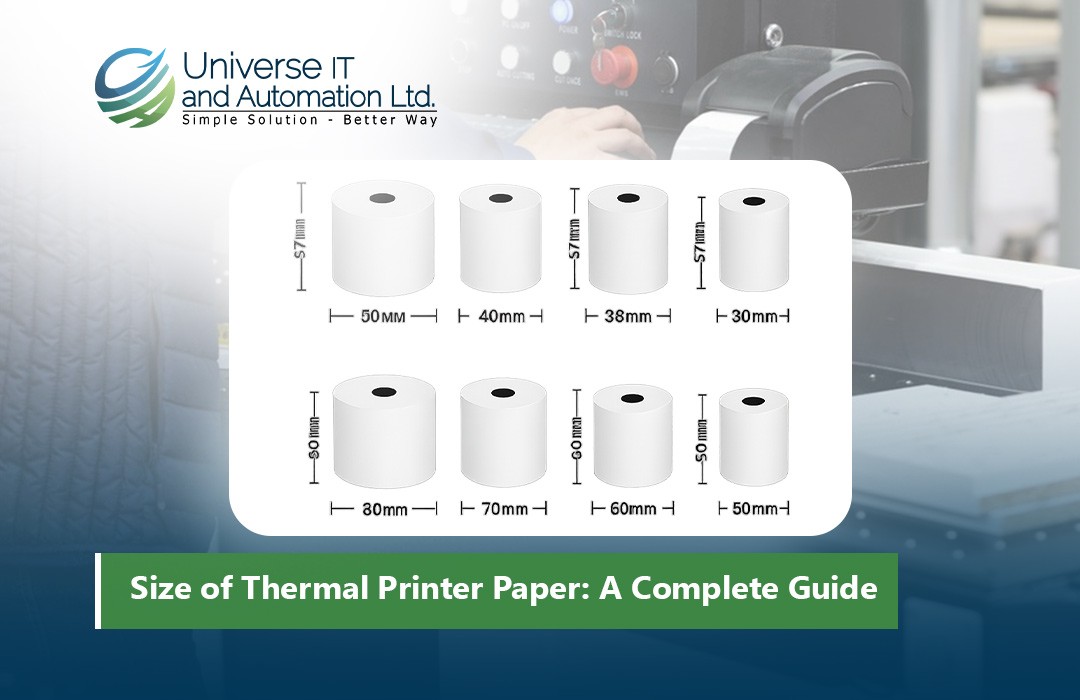
Paper Roll or Label Size Thermal printers generally support two types of paper: continuous paper rolls (commonly used for receipts) and pre-cut labels (used in label printing). The size of the paper roll or label will determine the paper size setting. The most common sizes include 80mm (for receipts) and 4x6 inches (for shipping labels), but other sizes are available depending on the printer and application.
-
Software Configuration Software tools and utilities provided by the manufacturer or third-party solutions allow users to set the paper size digitally. These tools usually involve adjusting parameters such as width, height, and margin settings. Some printers also allow you to define custom sizes.
-
Printer Firmware and Drivers The firmware or drivers installed on the printer are crucial for setting the paper size correctly. An outdated or incompatible driver can cause issues with paper size detection and output alignment. Ensuring that the printer is using the latest driver and firmware version can help prevent problems related to paper size settings.
-
Type of Thermal Paper Thermal printers are designed to work with specific types of thermal paper, including direct thermal and thermal transfer paper. While direct thermal paper is used for short-term prints (like receipts), thermal transfer paper requires a ribbon and is often used for more durable labels. The type of thermal paper can affect how the paper size is set, especially when it comes to thickness and print quality.
Steps to Set Paper Size on Thermal Printers
The process of setting paper size on thermal printers varies slightly depending on the brand and model, but here are the general steps you can follow:
1. Check the Printer's Paper Size Range
-
For continuous paper rolls: Ensure your printer is compatible with the size of the thermal paper roll you intend to use. Paper widths typically range from 40mm to 80mm, but there are variations depending on the printer.
-
For pre-cut labels: Measure the label's dimensions (width and height). Ensure that your printer supports these dimensions. Many printers can automatically detect the label size, but manual settings may be required in some cases.
2. Use Printer Settings Software
-
For desktop printers: Manufacturers like Epson, Brother, and Zebra provide specific software for setting up the printer. For example, Zebra’s ZebraDesigner software allows you to set label dimensions, print speed, and other settings, including paper size.
-
For receipt printers: Many thermal receipt printers allow you to adjust paper size through a printer configuration tool that communicates with your computer. This software may allow you to select preset sizes or define custom dimensions.
3. Adjust Paper Size in the Printer's Control Panel
-
For networked printers: Some thermal printers with network or wireless capabilities may have a web-based control panel where you can log in and change paper settings. This is especially useful in business environments where multiple printers are used.
-
For standalone printers: On some models, you can set paper size directly from the printer's control panel. This may involve navigating through a menu, selecting "Paper Size," and then choosing from available options or entering custom dimensions.
4. Test the Configuration
After configuring the paper size, print a test page to ensure that the printer is correctly recognizing the paper size and formatting the printout correctly. Make sure that text and images fit within the designated area and that no paper jams occur.
5. Update Printer Drivers and Firmware
If you are having trouble setting the correct paper size, make sure that your printer's firmware and drivers are up to date. You can usually find the latest versions on the manufacturer's website. Outdated drivers may cause miscommunication between the printer and the computer, leading to incorrect paper sizes.
Common Challenges and Solutions
While setting paper size on thermal printers is generally straightforward, there are some challenges that may arise. Here are a few common issues and their solutions:
1. Incorrect Paper Size Detection
-
Cause: Some thermal printers have automatic paper size detection, but if the paper is not loaded correctly or if the printer is not calibrated, the detection may fail.
-
Solution: Ensure that the paper is loaded correctly and that the printer is calibrated. Calibration usually involves feeding a few sheets of paper through the printer and aligning the paper size in the settings.
2. Print Alignment Issues
-
Cause: If the paper size is set incorrectly, text or images may be misaligned, leading to poorly printed receipts or labels.
-
Solution: Double-check that the paper size in both the printer and the software matches the actual paper dimensions. Also, adjust margin settings to ensure that printed content fits on the page.
3. Software Incompatibility
-
Cause: Sometimes, third-party software may not support the exact paper sizes available for your printer model.
-
Solution: Use the software or drivers provided by the printer manufacturer to ensure compatibility and accurate configuration.
4. Paper Jams
-
Cause: Incorrect paper size settings or paper that is too thick or too thin can cause paper jams.
-
Solution: Verify that the paper is the correct type and thickness for your thermal printer model. Ensure the paper size is correctly defined in both the printer and the software.
Conclusion
Setting the correct paper size in thermal printers is essential for ensuring optimal print quality, preventing misprints, and avoiding paper jams. While the process varies by manufacturer and model, most thermal printers offer tools or interfaces to easily configure the paper size. Key factors to consider include the type of thermal paper, printer software, and paper roll or label size. Common challenges include misalignment, incorrect paper size detection, and software compatibility issues, all of which can be resolved by proper calibration, updated drivers, and careful setup.
By following the steps outlined in this article and troubleshooting any issues, you can ensure that your thermal printer performs efficiently and produces accurate, well-formatted prints every time.





Leave a comment