In 2025, A4 thermal paper in Bangladesh has become a crucial item for businesses relying on thermal printers. Prices...
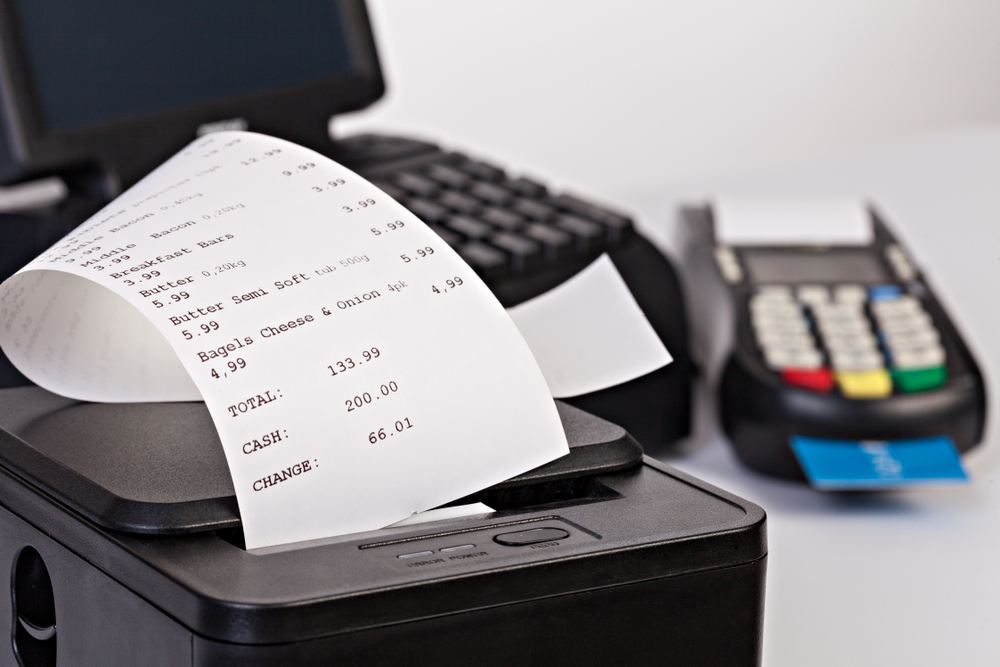
How to Install Paper into Thermal Receipt Printer POS Printer
Thermal receipt printers are widely used in stores, restaurants, and other businesses to print receipts quickly and clearly. If you want your printer to work well, it’s important to know how to install paper correctly. This guide will show you how to install paper into a thermal receipt printer, explain the key things you need to know, and help you choose the best paper for your printer.
What is a Thermal Receipt Printer?
Thermal receipt printers use heat to print. The printer has a special printhead that gets hot and prints on special paper. This type of printer doesn’t need ink or toner, making it easy to maintain and fast to use. The paper used in thermal printers is called thermal paper, which reacts to heat and turns black where the printhead touches it.
How to Install Paper into a Thermal Receipt Printer
Installing paper into a thermal receipt printer is simple. Here are the steps to follow:
Step 1: Open the Printer Cover
First, you need to open the top cover of your thermal printer. Most printers have a cover that lifts up. It might have a button or latch that you need to press or pull to open it.
Step 2: Remove the Old Paper Roll (if there is one)
If there’s any old or used paper still in the printer, take it out. You may need to pull out the empty roll and discard it. Some printers have a spring-loaded holder that keeps the paper roll in place, while others may have adjustable guides that you need to move.
Step 3: Insert the New Paper Roll
Next, take your new thermal paper roll and place it in the printer. Make sure the paper is facing the right way:
-
The thermal side (the side that changes color when heated) should face down.
-
The smooth side (the side without thermal coating) should face up.
Position the paper roll in the compartment so it fits properly and doesn’t move around. Make sure the roll is centered and aligned with any rollers or guides inside the printer.
Step 4: Thread the Paper Through the Printer
After placing the roll, pull a small piece of paper from the roll and guide it through the printer’s paper path. Some printers have a paper sensor that will automatically detect the paper, while others may need you to manually guide the paper through.
Make sure the paper goes under the printhead, where the printing happens. This is very important to ensure the printer can print properly.
Step 5: Close the Printer Cover
Once the paper is in place, close the printer cover. You should now check if the paper is feeding correctly. Most printers have a button that allows you to do a test print. You can also use your POS (Point of Sale) system to print a receipt and make sure everything is working.
Important Things to Keep in Mind When Installing Paper
Although the process is simple, there are a few important things to consider to avoid problems.
1. Paper Quality
The quality of the thermal paper you use can affect your print results. Poor-quality paper can lead to faded prints, which might make the receipts hard to read. When buying paper, consider the following:
-
Thickness: Some thermal paper is thicker or thinner than others. Thicker paper is more durable but may cause jams if your printer isn’t designed for it.
-
Coating: The quality of the thermal coating affects how well the printer can create sharp and clear prints.
-
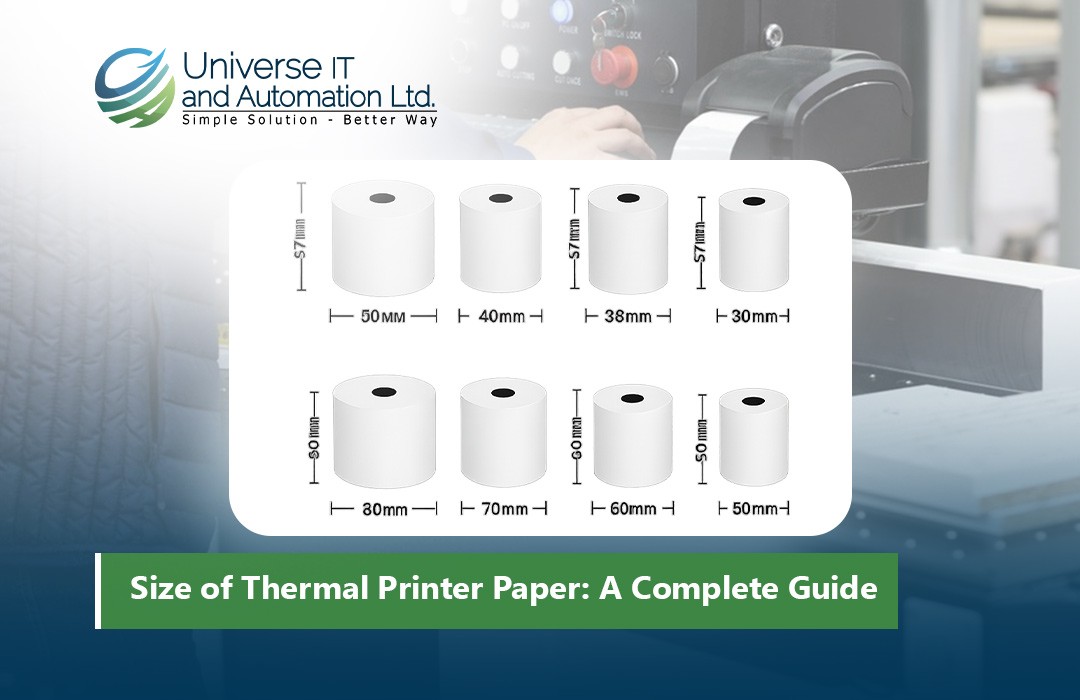
Size: Make sure the paper roll fits your printer. Check the width and diameter of the roll before buying new paper.
2. Printer Compatibility
Not all thermal printers can use the same paper. Each printer has its own size and specifications for the paper roll. Always check the printer’s manual or manufacturer’s website to know which paper size and type are best for your model.
3. Paper Orientation
It’s important to place the paper in the printer the right way. The thermal (heat-sensitive) side must face the printhead for the printer to work properly. If the paper is inserted the wrong way, the printer may not print anything or could produce unclear images.
Common Problems When Installing Paper
While installing paper is usually easy, there are a few problems you might run into:
-
Paper Jams: If the paper isn’t aligned properly or is too thick, it could get stuck in the printer. Be sure the paper feeds smoothly and doesn’t get caught on anything inside.
-
Poor Print Quality: Using low-quality paper or incorrect paper can result in faded or unclear printing. This can be a problem, especially if you need your receipts to last a long time.
-
Wrong Paper Size: If you use a paper roll that’s too large or small for your printer, the printer won’t work correctly. Always check the paper roll size before purchasing.
Choosing the Right Thermal Paper for Your Printer
When you buy thermal paper for your POS printer, consider these points:
-
Cost: Cheaper paper may seem like a good deal, but it can result in poor print quality and paper jams. Spending a bit more on high-quality paper is worth it in the long run.
-
Supplier Reputation: Buy paper from trusted suppliers to ensure it is compatible with your printer and meets quality standards.
-
Environmental Considerations: Some businesses choose eco-friendly thermal paper that is free from chemicals like BPA (Bisphenol A), which is used in some thermal coatings. This might be a good choice if your business is environmentally conscious.
Conclusion
Installing paper into a thermal receipt printer is an easy task when you follow the right steps. Make sure to use the correct paper type, check that the paper is installed properly, and follow the manufacturer’s recommendations for your printer. By doing this, you’ll avoid common issues like paper jams and poor print quality. When buying thermal paper, always choose high-quality options to ensure that your receipts are clear, legible, and long-lasting.
Taking these steps will help keep your thermal receipt printer running smoothly, so you can focus on your business without worrying about printer problems.


Leave a comment