In 2025, A4 thermal paper in Bangladesh has become a crucial item for businesses relying on thermal printers. Prices...
Latest posts
-
 A4 Thermal Paper Price in Bangladesh 2025Read more
 -
 Size of Thermal Printer Paper: A Complete GuideRead more
Discover everything you need to know about thermal printer paper sizes in this comprehensive guide. From standard...
-
 How to Insert POS Paper in Your PrinterRead more
Learn how to insert POS paper into your printer quickly and correctly to avoid jams, misprints, or downtime in your...
-
 Top 5 Mini Printer Prices in Bangladesh 2025Read more
Looking for the best mini printers in Bangladesh for 2025? Our comprehensive guide covers the top 5 mini printers,...
-
 How to Choose the Right Size of POS Thermal Paper RollsRead more
Selecting the right size of POS thermal paper rolls is a simple yet vital decision for your business operations....
-
 Top POS Thermal Paper Brands Trusted by Retailers in 2025Read more
Selecting a trusted POS thermal paper brand is more than just buying paper rolls — it’s about ensuring smooth...
-
 Top Mistakes to Avoid When Buying a POS Receipt PrinterRead more
Choosing the right POS receipt printer is crucial for smooth business operations and a positive customer experience....
-
 How to Choose the Best POS Printer for Your Retail StoreRead more
Choosing the right POS printer is crucial for smooth retail operations and a better customer checkout experience....
-
 Top 5 POS Printers for Small Businesses in 2025Read more
Investing in the right POS printer can streamline your checkout process and enhance customer satisfaction. The Epson...
-
 Best ID Card Printer for Office in 2025Read more
Choosing the right ID card printer boosts your office security and professionalism. The printers listed here are...
Blog categories
Search in blog

How To Make Rfid And Google Sheets Attendance
Attendance tracking is crucial for schools, workplaces, and events. Traditional methods, like manual roll-calls or sign-in sheets, are prone to errors and inefficiencies. By integrating RFID (Radio Frequency Identification) technology with Google Sheets, you can automate the attendance process, making it faster, more accurate, and easier to manage.
In this guide, we’ll explain how to set up an RFID-based attendance system that automatically updates a Google Sheets document. We’ll cover everything from choosing the right hardware to programming and integrating with Google Sheets.
1. What is an RFID and Google Sheets Attendance System?
An RFID and Google Sheets attendance system uses RFID technology to scan and log individuals' attendance. When an RFID tag (e.g., an ID card) is scanned, the system sends the data to a Google Sheets document, automatically recording the time and date of the entry. This setup is perfect for automating attendance and reducing human error.
2. Key Components Needed
Before you begin, you’ll need to gather the necessary hardware and software components for the system:
Hardware
-
RFID Reader: A device that reads the data from RFID tags. Popular models include the MFRC522 and PN532.
-
RFID Tags: These can be in the form of cards, key fobs, or stickers.
-
Microcontroller: An Arduino or ESP32 is commonly used to interface with the RFID reader.
-
Power Supply: To power the microcontroller and RFID reader.
-
Computer or Server: To manage the Google Sheets integration and run the required scripts.
Software
-
Arduino IDE: For programming the microcontroller.
-
Google Sheets API: To allow your microcontroller to interact with Google Sheets.
-
Google Apps Script: A scripting tool to automate and manage data updates in Google Sheets.
External Resource: Learn more about Google Sheets API and how it can be used in your project.
3. Setting Up the RFID Hardware
Step 1: Connect the RFID Reader to the Microcontroller
For this guide, we'll use the MFRC522 RFID reader and an Arduino Uno. Here’s how to connect them:
-
VCC: Connect to the 3.3V pin on the Arduino.
-
GND: Connect to the Ground pin on the Arduino.
-
SDA: Connect to pin 10 on the Arduino.
-
SCK: Connect to pin 13 on the Arduino.
-
MOSI: Connect to pin 11 on the Arduino.
-
MISO: Connect to pin 12 on the Arduino.
-
RST: Connect to pin 9 on the Arduino.
Posted in:
Default category
Related posts
-
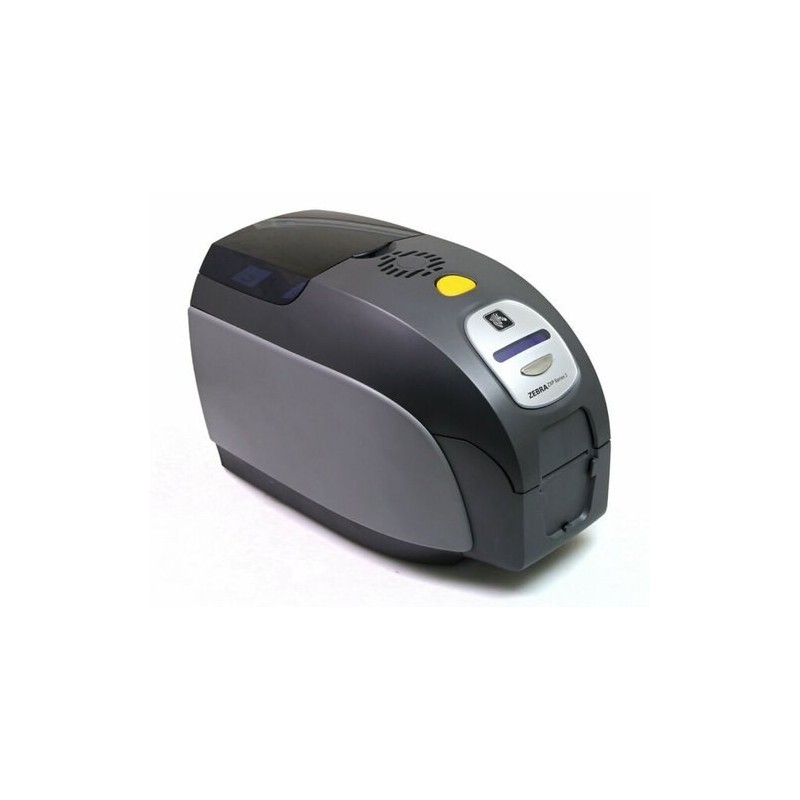
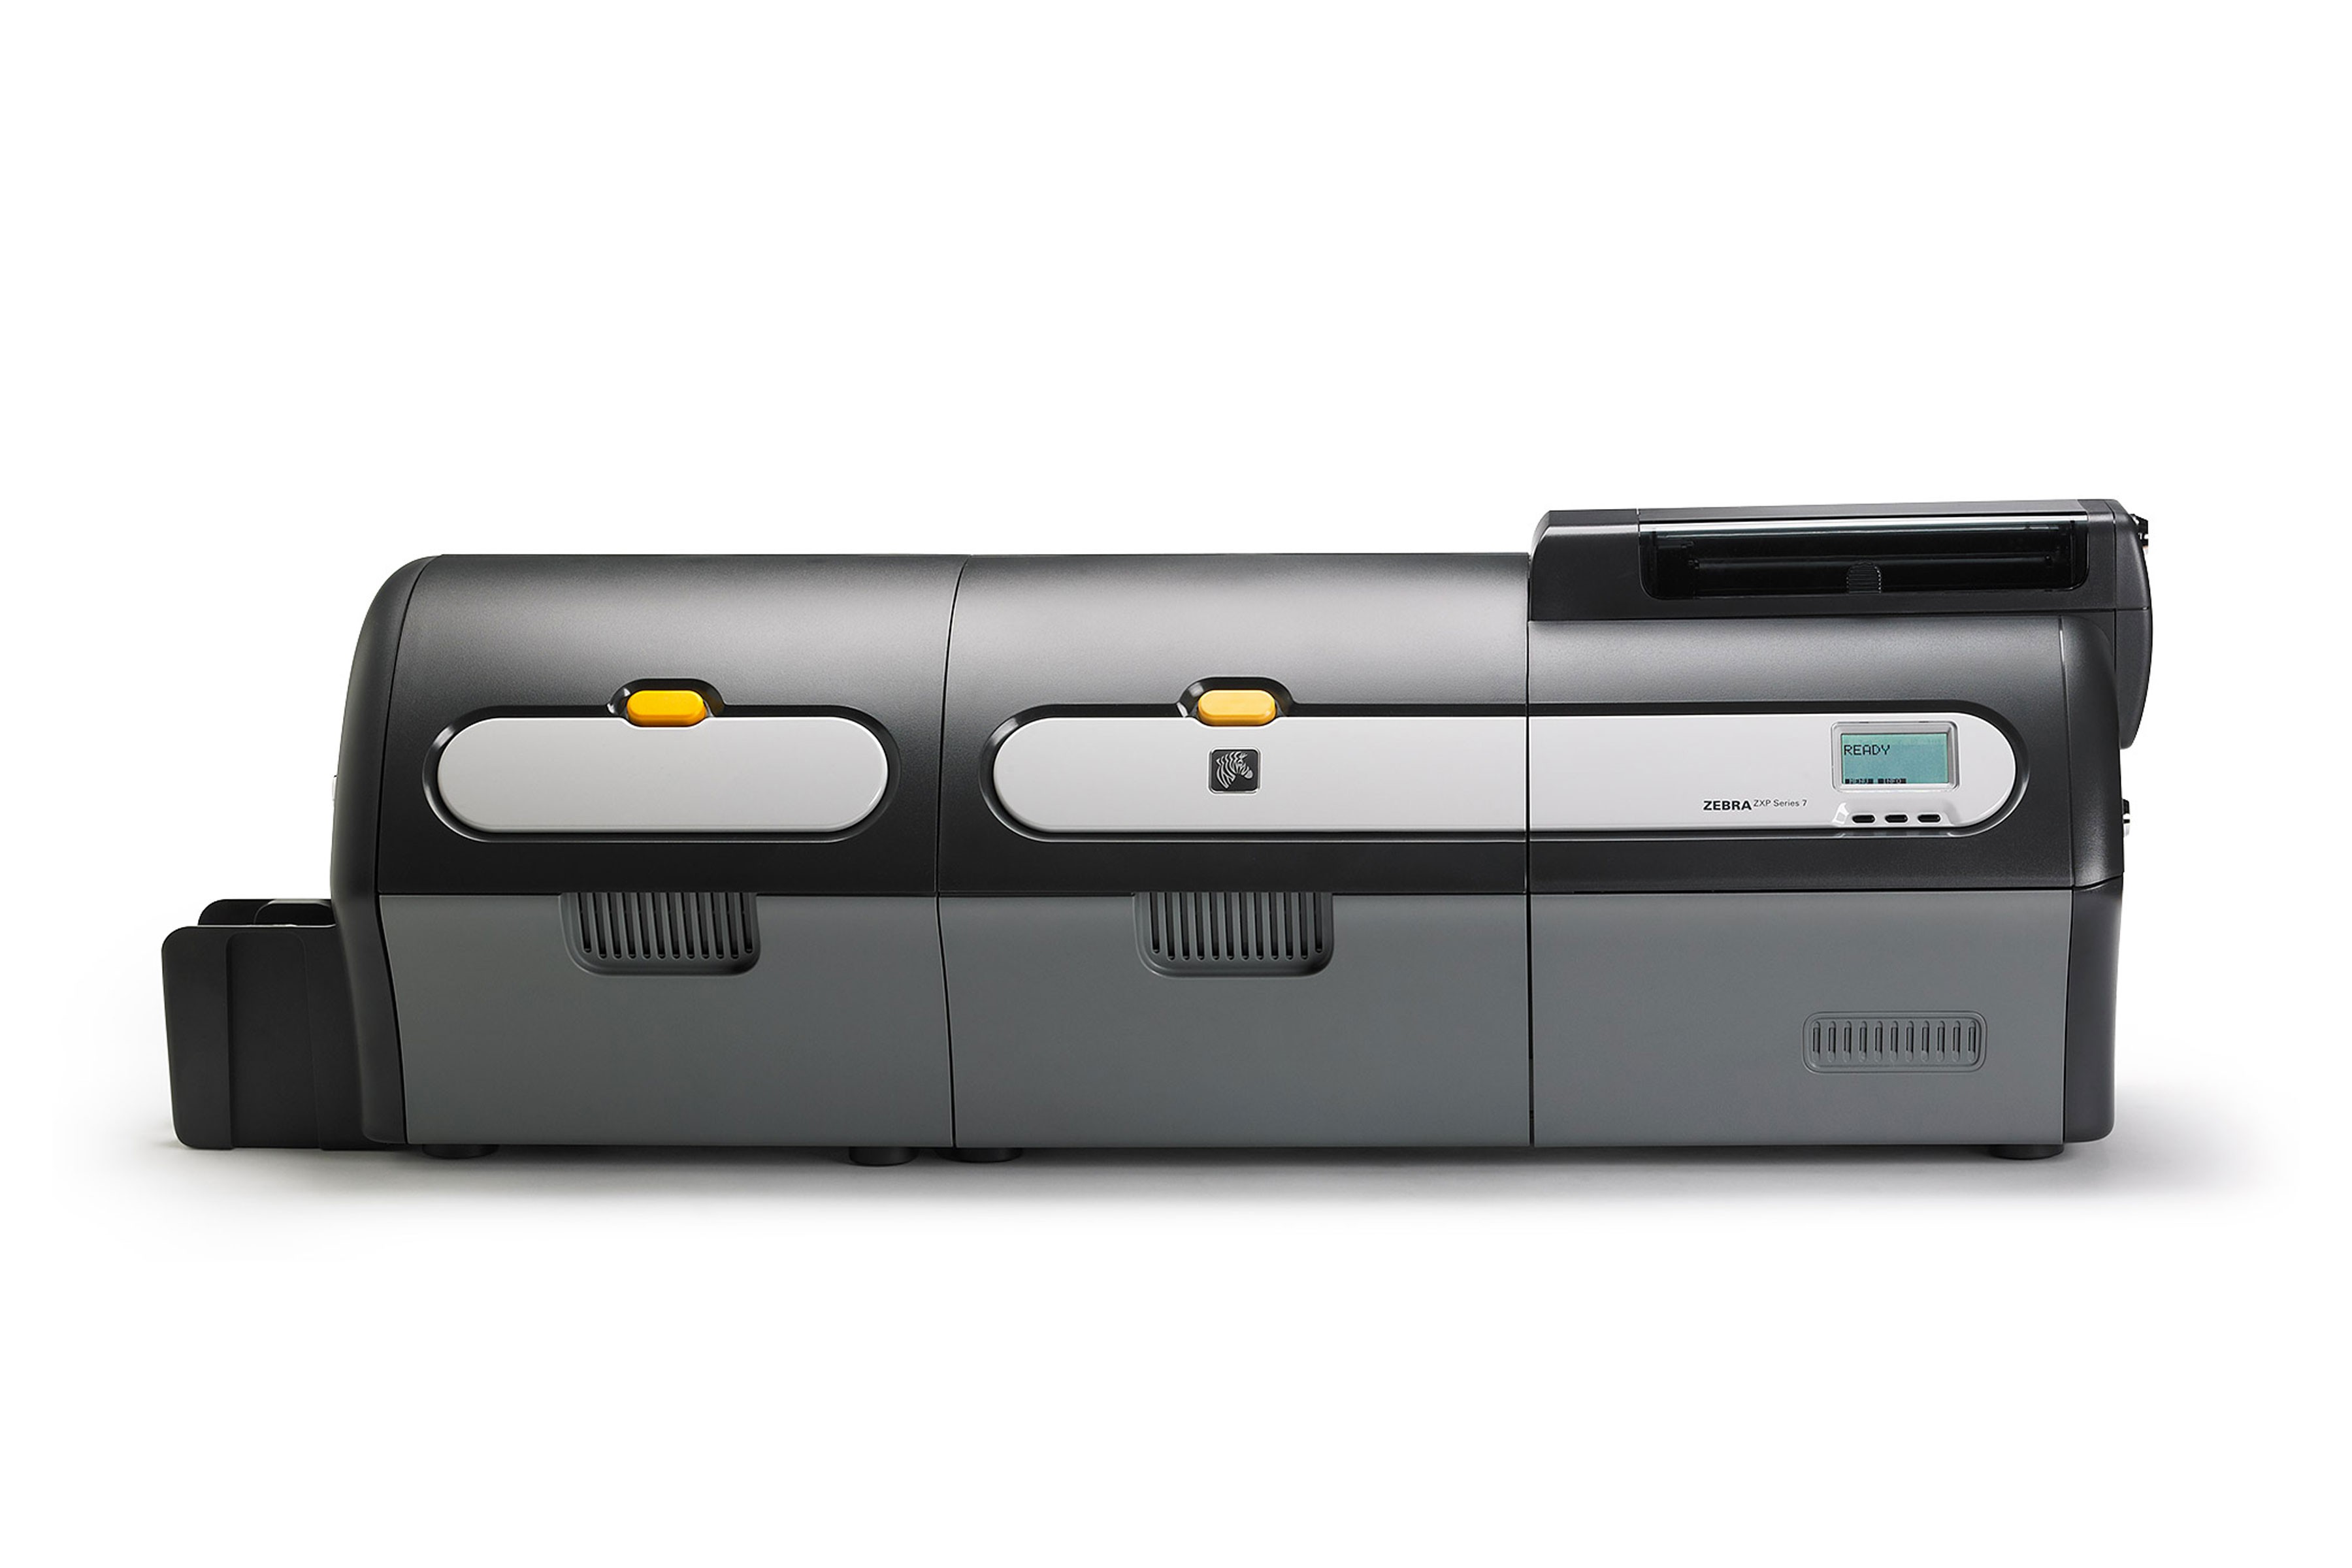 Want to Buy Zebra ZXP Series 7 Ribbon? Here's What You Need to Know
The Zebra ZXP Series 7 ribbon is an essential component for anyone using the Zebra ZXP Series 7 card printer. Whether...Read more
Want to Buy Zebra ZXP Series 7 Ribbon? Here's What You Need to Know
The Zebra ZXP Series 7 ribbon is an essential component for anyone using the Zebra ZXP Series 7 card printer. Whether...Read more -
 Best ID Card Printer - Best Advice on All Leading Brands
5 Best ID Card Printers in 2024 When you dive into the world of ID card printers, you'll find a plethora of options...Read more
Best ID Card Printer - Best Advice on All Leading Brands
5 Best ID Card Printers in 2024 When you dive into the world of ID card printers, you'll find a plethora of options...Read more -
 Best Selling ID Card Ribbon & Accessories
When it comes to ID card ribbon and supplies, it's essential to choose reliable products that ensure crisp, clear...Read more
Best Selling ID Card Ribbon & Accessories
When it comes to ID card ribbon and supplies, it's essential to choose reliable products that ensure crisp, clear...Read more -
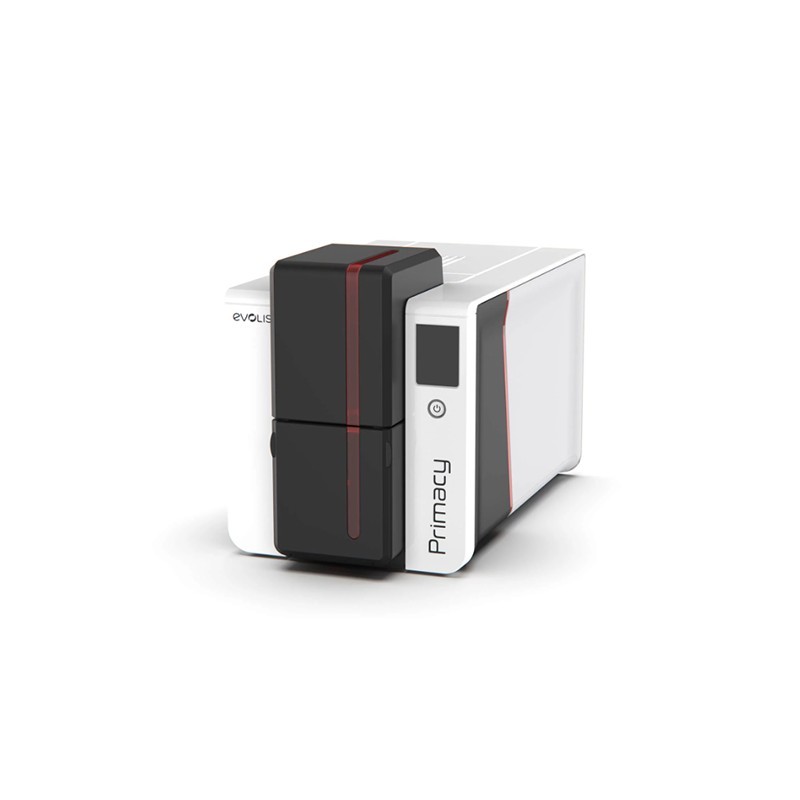
 Employee ID Card Printer at Best Price In Bangladesh
Top Employee ID Card Printers in Bangladesh for 2024 1. Evolis Primacy 2 The Evolis Primacy 2 is highly regarded...Read more
Employee ID Card Printer at Best Price In Bangladesh
Top Employee ID Card Printers in Bangladesh for 2024 1. Evolis Primacy 2 The Evolis Primacy 2 is highly regarded...Read more -
 Best Retransfer ID Card Printer : Top Printers Chosen By Experts
Retransfer ID Card Printer Fargo HDP6600XE ID Card Printer Evolis Primacy 2 Expert Printer Zebra ZXP Series 9...Read more
Best Retransfer ID Card Printer : Top Printers Chosen By Experts
Retransfer ID Card Printer Fargo HDP6600XE ID Card Printer Evolis Primacy 2 Expert Printer Zebra ZXP Series 9...Read more
Leave a comment